

Poor tee placement is one of the most overlooked sources of wasted strokes in amateur golf. A ball positioned just a few inches outside the teeing area, or teed at the wrong height for your club, can cost you distance, accuracy, and penalty shots before the round even gets going. Most golfers focus on swing mechanics while ignoring the setup decisions that happen before the club ever moves. This guide delivers a step-by-step workflow covering rules, gear, alignment, strategy, and tee height so you can approach every tee box with a repeatable, confident system.
Table of Contents
- Understanding teeing area rules and basics
- Essential tools and accessories for efficient setup
- Tournament and personal setup: Aligning and placing markers
- Tee placement strategy: Side selection, shot shape, and optimal targeting
- Perfecting tee height for every club
- Common mistakes and troubleshooting tee workflow issues
- Streamline your game with the right tee gear and accessories
- Frequently asked questions
Key Takeaways
| Point | Details |
|---|---|
| Know the rules | Penalties for incorrect placement are severe, so always start inside the teeing area. |
| Use the right gear | Accessories like consistent tees and alignment aids streamline your workflow and boost confidence. |
| Strategize your setup | Choose your tee side, ball position, and height to match your shot shape and club for each hole. |
| Avoid common mistakes | Don’t move markers or use objects for alignment, and always verify ball position before your shot. |
| Efficiency lowers scores | A repeatable tee placement workflow leads to fewer mistakes and a better overall round. |
Understanding teeing area rules and basics
Before you can optimize your workflow, you must know the rules and boundaries. The teeing area rules define a precise space: a rectangular zone formed by the front edges of two tee markers extending two club-lengths deep. That rectangle is your legal playing zone for the opening shot on each hole.
One important distinction: your ball must be inside the teeing area, but your stance can be outside it. Many golfers confuse these two points and either play from illegal positions or unnecessarily restrict themselves. Knowing this distinction gives you more flexibility in positioning.
The consequences of getting it wrong are significant. Playing outside the teeing area results in a two-stroke penalty in stroke play or loss of hole in match play. These are avoidable penalties that have nothing to do with your swing.
Here are the core rules every golfer should internalize:
- Your ball must be within the two-club-length rectangle
- Your feet may stand outside the teeing area
- You may tee the ball anywhere within the defined zone, not just between the markers
- You may not move tee markers to improve your angle or stance
- Artificial alignment aids placed on the ground are not permitted
For tee consistency and launch to work in your favor, you first need a legally sound starting position. Review your tee selection tips to build on this foundation.
| Rule element | Stroke play penalty | Match play penalty |
|---|---|---|
| Ball outside teeing area | Two strokes | Loss of hole |
| Moving tee markers | General penalty | General penalty |
| Artificial alignment aids | Two strokes | Loss of hole |
Essential tools and accessories for efficient setup
With a grasp of teeing essentials, the next step is gathering the right gear to set yourself up for efficiency. Pre-assessing tee strategy and using consistent tees and height markers are proven habits that improve organization and reduce decision fatigue on the course.
The right accessories eliminate guesswork. When your gear is standardized, your setup becomes faster and more repeatable. Here is what belongs in your tee box toolkit:
- Tees by material and height: Wooden tees for irons and hybrids, longer tees for driver. Brush tees and zero-friction tees reduce resistance at impact.
- Height reference markers: Small tools or notched tees that help you set a consistent depth every time
- Divot tools: Doubles as a ball marker and keeps your focus on the shot, not searching your pockets
- Alignment aids: Legal aids like alignment sticks used during practice, not placed on the ground during play
Pro Tip: Use notched or graduated tees that physically stop at a set depth when pushed into the ground. This removes the guesswork from tee height and keeps your setup consistent across all 18 holes, especially under pressure.
Explore the full range of golf tee options and golf accessories for setup to build a kit that matches your game.
| Accessory | Primary function | Setup speed benefit | Organization benefit |
|---|---|---|---|
| Graduated tees | Consistent tee height | High | High |
| Brush tees | Reduced friction at impact | Medium | Medium |
| Divot tool/ball marker | Mark and repair | High | High |
| Alignment sticks | Practice alignment | Medium | Low |
| Utility pouch | Gear storage and access | High | Very high |
Review tee height guides to match your gear choices to specific club requirements.
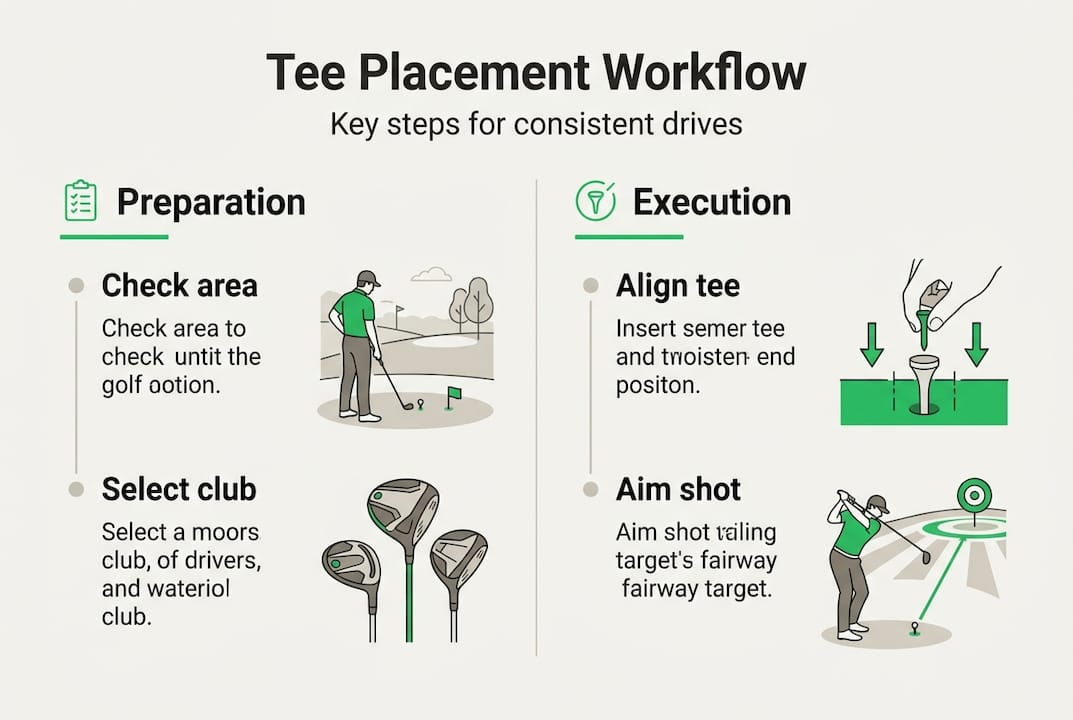
Tournament and personal setup: Aligning and placing markers
Armed with proper equipment, now execute the physical setup for a legal and practical tee environment. Whether you are a tournament official or an individual player, the setup sequence matters.
Tournament official workflow:
- Select designated teeing grounds per flight or division
- Mow or verify turf condition in the teeing area
- Place markers 5 to 8 paces apart, square to green center on par 3s or to the landing zone on par 4s and par 5s
- Use a T-square or body alignment to verify marker direction
- Confirm yardage from the front edge of each marker
Player workflow:
- Identify your appropriate tee box using the 5-iron carry method: multiply your 5-iron carry distance by 36 to find your ideal course yardage
- Step into the teeing area and assess the hole layout
- Select your ball position within the rectangle based on hazards and shot shape
- Set tee height for the club you are using
- Align your body to a specific intermediate target, not just a distant flag
Rule reminder: Never move tee markers to improve your angle or lie. Never place objects on the ground as artificial aiming references. Both actions carry penalties under the Rules of Golf.
For professional tees for consistency and a deeper look at structured golf tee systems, these resources support both tournament and recreational play.
Tee placement strategy: Side selection, shot shape, and optimal targeting
Once setup is complete, proper tee placement and targeting decisions set the tone for each drive. This is where course management separates consistent players from inconsistent ones.
Reading the hole before you tee the ball is non-negotiable. Assess the hole layout and hazards before committing to a position. Wind direction, landing zone width, and the location of water, bunkers, or rough all influence where you stand within the teeing area.
Key decision factors before placing your ball:
- Identify the primary hazard on the hole (water, OB, bunker)
- Choose the side of the tee box opposite the hazard to maximize your angle away from trouble
- Match your side selection to your shot shape: if you draw the ball, tee on the right side to open up the fairway
- Find a flat spot within the teeing area to avoid uneven lies
- Pick a small intermediate target 2 to 3 feet in front of your ball for precise alignment
- Factor in wind: a headwind rewards a lower tee; a tailwind allows a higher launch
Pro Tip: Use a natural reference on the ground, such as a discolored patch of grass or a tee hole, as your intermediate aiming point. This is legal, practical, and far more precise than trying to aim at a flag 250 yards away.
There is a legitimate debate among instructors about side selection. Some coaches advocate teeing toward trouble for skilled players who can curve the ball away from it, while others recommend teeing away from trouble for amateurs who need the safety margin. For most recreational golfers, the conservative approach produces better scoring outcomes. Use your tee selection for strategy and understand how tee placement and ball flight interact before committing to an aggressive line.
Perfecting tee height for every club
Proper alignment and targeting are maximized when tee height is also consistent and club-appropriate. Tee height directly affects launch angle, spin rate, and carry distance. Getting it wrong by even half an inch can cost you 10 to 20 yards or produce a mis-hit.
The correct tee height benchmarks by club type are:
- Driver: Half of the ball should sit above the crown of the clubhead at address
- Fairway woods: Ball equator should align with the top edge of the clubhead
- Hybrids: Ball equator at or just above the crown
- Irons: Ball barely off the ground, just enough to prevent the tee from interfering with contact
Adjustment tips based on conditions:
- Into a headwind: Lower the tee slightly to reduce spin and keep the ball flight penetrating
- Downwind: Tee slightly higher to maximize launch and carry
- Tight fairways: Lower tee height to promote a more controlled, lower ball flight
- Soft conditions: Standard height works; the ball will stop quickly regardless
| Club | Ideal tee height | Expected outcome |
|---|---|---|
| Driver | Half ball above crown | Maximum distance, optimal launch |
| Fairway wood | Equator at crown | Controlled distance, lower spin |
| Hybrid | Equator at top edge | Versatile launch, solid contact |
| Iron | Barely off ground | Precision, controlled trajectory |
For a detailed breakdown of how height affects ball flight, visit tee height and ball flight.
Common mistakes and troubleshooting tee workflow issues
To maintain efficient and legal play, avoid common pitfalls with these troubleshooting solutions. Most tee box errors fall into a short list of repeatable mistakes.
Top workflow errors:
- Ball placed outside the teeing area: Always verify the ball is within two club-lengths of the front marker edges before swinging
- Moving tee markers: Even accidentally repositioning a marker can result in a penalty. Leave them exactly as placed
- Using objects for alignment: Placing a club, towel, or any object on the ground to guide your aim is a rules violation
- Inconsistent tee height: Rushing through setup leads to varying tee depths, which changes launch conditions on every hole
- Ignoring the re-tee protocol: If your ball falls off the tee before you swing, simply re-tee it. No penalty applies
Edge case troubleshooting:
- Ball in play remains in the teeing area: You may lift, clean, and replace it without penalty
- Immovable obstruction in the teeing area: You may move your ball within the teeing area to avoid it, but no free relief outside the area is granted
- Penalty area adjacent to the tee: Play from a legal position within the teeing area; no special relief applies
- Tee marker missing or displaced: Play from where the marker should logically be, or ask a rules official before proceeding
Verification habit: Before every tee shot, confirm your ball is inside the rectangle, your tee height matches the club, and your alignment target is a natural reference, not a placed object.
For structured solutions, review golf tee system solutions to build a workflow that prevents these errors before they happen.
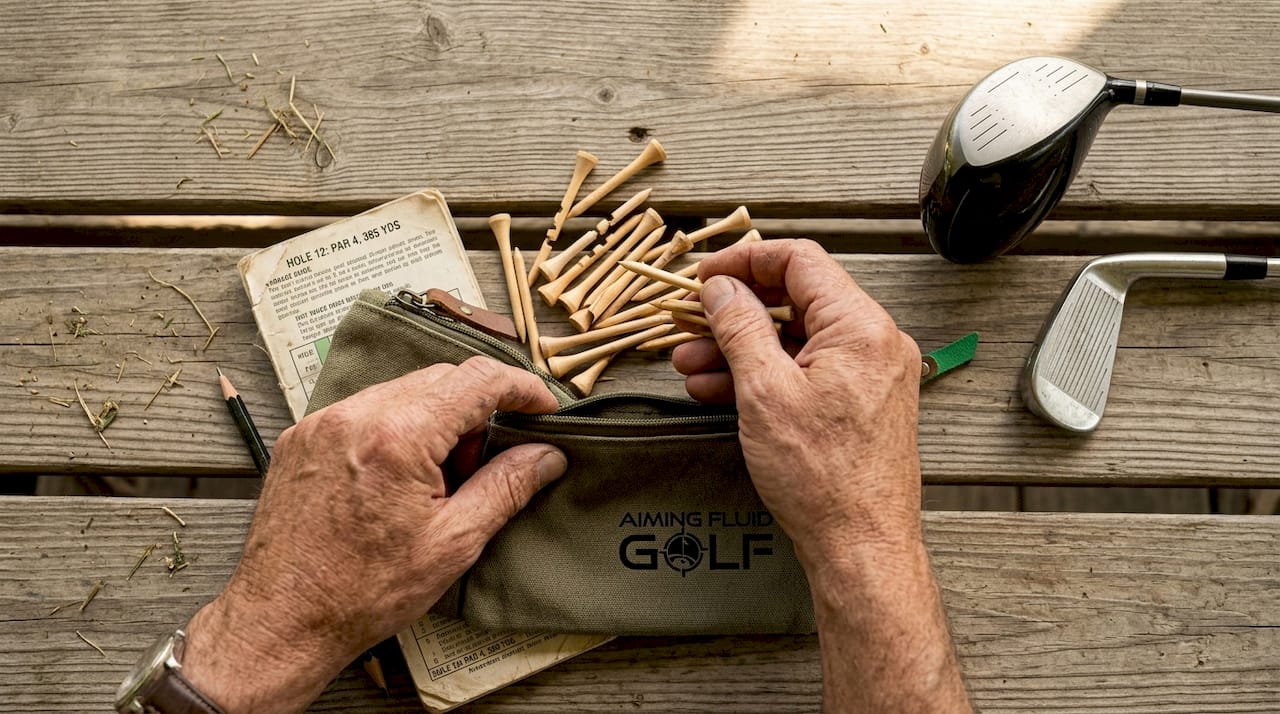
Streamline your game with the right tee gear and accessories
With your workflow mastered, the next step is equipping yourself with gear that supports it consistently. A repeatable tee box routine only holds up when your accessories are reliable, organized, and ready to use without digging through your bag.

Aiming Fluid Golf designs accessories specifically for golfers who take their setup seriously. From premium golf tees engineered for consistent height and minimal resistance, to magnetic towels that attach and detach instantly so your gear is always within reach, every product is built around reducing friction in your routine. Browse the full selection of top golf accessories to find the tools that match your game and keep your workflow running smoothly from the first tee to the last.
Frequently asked questions
What happens if I tee off outside the markers?
You receive a two-stroke penalty in stroke play, or you lose the hole in match play. The error must be corrected before playing from the next teeing area.
How do I pick the right tee box for my skill level?
Multiply your 5-iron carry distance by 36 to calculate your ideal course yardage, then select the tee box closest to that number.
What is the best tee height for a driver?
Position the ball so half sits above the driver’s crown at address. This promotes an upward strike angle and maximizes carry distance.
Can I move a tee marker to get a better angle?
No. Moving tee markers is prohibited under the Rules of Golf and carries a general penalty in both stroke and match play formats.
How does tee placement affect my score?
Strategic tee placement reduces exposure to hazards and creates better angles for approach shots, which compounds into lower scores across a full round.

