


Magnets rarely scratch a golf cart’s finish on their own; the real damage almost always comes from grit trapped underneath, a rough magnet backing, or someone dragging the magnet sideways across the paint. Before mounting anything permanently, clean a small, hidden spot, place the magnet there, and check it after a day or two. Aiming Fluid Golf builds its towel and landing pad systems around this exact risk, using padded backing to keep bare magnets away from your paint.
TL;DR:
- Using padded backing or embedded magnets significantly reduces scratch risk, even with frequent use over multiple seasons.
- Coating quality, especially nickel plating, helps prevent magnet edges from developing rough, abrasive surfaces that could damage paint.
- Regularly inspecting mounting areas and rechecking test spots after weeks of use ensures grit does not accumulate and cause scratches over time.
- Proper mounting habits, such as lifting magnets straight up and applying buffers, prevent metal-to-metal contact and reduce abrasions.
- Most reported damage is caused by trapped grit or sliding magnets, not the magnets’ strength, emphasizing the importance of soft backing and clean surfaces.
Table of Contents
- Will Magnets Scratch a Golf Cart’s Finish?
- What Golfers Actually Report in Forums and Reviews
- How to Test a Magnet Safely Before Regular Use
- Protective Mounting Options That Actually Prevent Scratches
- How Aiming Fluid Golf Engineers Around This Risk
- Fixing Scratches That Already Happened
- Your Quick-Reference Checklist for Safe Magnet Use
- Convenience Shouldn’t Cost You Your Cart’s Finish
- The Aiming Fluid Golf Magnetic System
- Sources
Will Magnets Scratch a Golf Cart’s Finish?
The magnet itself is almost never the problem. A neodymium disc or a nickel-plated accessory magnet has a smooth face, and smooth metal resting still on a clean, cured clear coat doesn’t cut anything. The scratches golfers actually report come from three sources: grit caught between the magnet and the paint, a bare or corroded magnet edge scraping across the surface, or repeated sliding motion that turns fine dust into an abrasive.
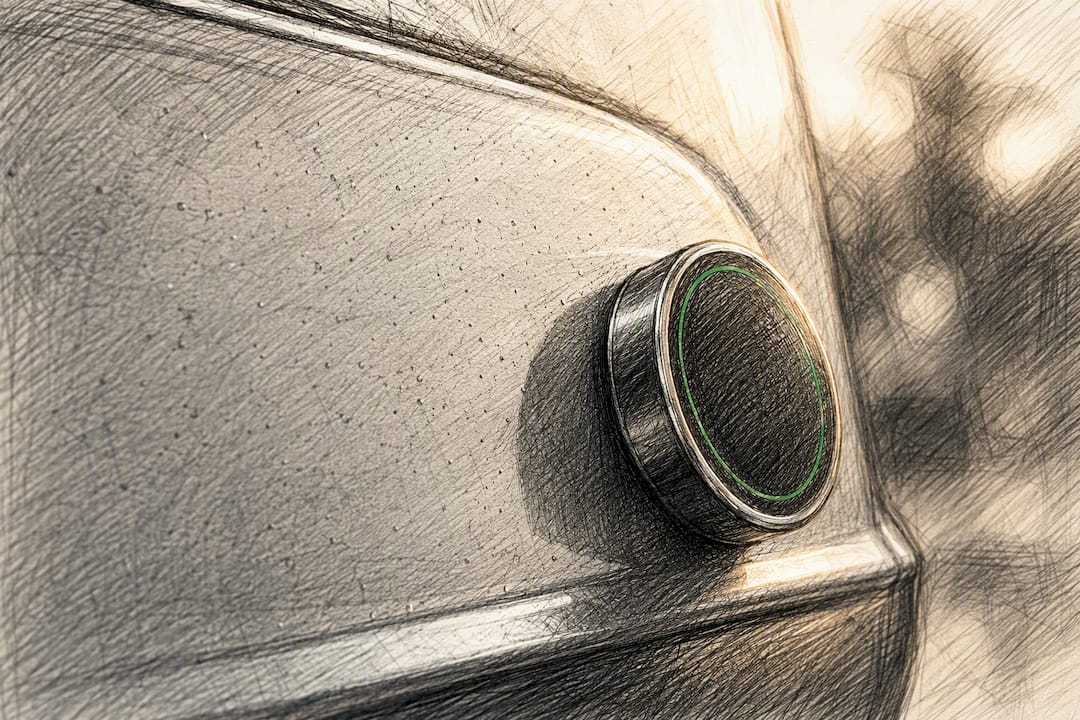
Coating matters more than most golfers assume. A nickel-plated neodymium magnet resists corrosion and keeps its face smooth, while an uncoated or chipped magnet can develop rough edges that behave like sandpaper over time. Magnets embedded inside a fabric or rubber housing, the design most golf towels and landing pads use, never touch the paint directly at all.
Force plays a role too, but not the one people expect. A stronger magnet that grips firmly and doesn’t shift is often safer than a weak one that slides around every time you hit a bump, because abrasion typically comes from movement and trapped particles rather than the magnet’s pull force itself. The tradeoff is that a very strong magnet can be harder to peel off cleanly, which is its own small risk if you yank it at an angle instead of lifting straight up.
Your cart’s finish condition changes the math:
- Factory clear coat on an older cart has already thinned from sun exposure and washing, making it more vulnerable to fine scratching.
- Fresh paint or a new wrap hasn’t fully cured and scratches more easily during the first few weeks.
- Cosmetic vinyl wraps scratch differently than clear coat and can show swirl marks sooner.
Statistic Callout: Product buying guides consistently point to magnet backing, coating, and embedment as the deciding factors in finish safety, not the raw strength number printed on the packaging.
What Golfers Actually Report in Forums and Reviews
Real-world reports skew more reassuring than the worry suggests. Plenty of cart owners run magnetic towels and accessory mounts for entire seasons without a single mark on the finish, and forum threads back that up more often than they contradict it.
- Multiple users describe magnetic towels and small accessory magnets holding securely with zero scratching when the mounting surface stays clean.
- One reviewer noted their magnetic accessory fell off the cart several times during a round and still left no visible scratch, which tells you more about design than luck.
- The complaints that do show up trace back to specific conditions: windy rounds that let a magnet flap and slide, a magnet that detached and skidded across the hood, or dirt trapped under a bare metal backing for weeks at a time.
One important distinction gets lost in casual conversation. Accessory magnets on your towel or pad are a completely separate issue from the magnets inside your cart’s drive motor. If your cart suddenly loses power or drops into limp mode, that’s a motor speed-sensor or Hall sensor problem tied to internal magnets, not something your towel caused. Don’t let a mechanical issue send you chasing the wrong culprit.
How to Test a Magnet Safely Before Regular Use
You don’t need to guess. A short test before you commit to daily use tells you almost everything you need to know about your specific cart and accessory combination.
- Pick an inconspicuous spot, like the underside of the dash lip or a rear panel edge, and clean it thoroughly with soap, water, and a microfiber towel. Any leftover dust defeats the whole point of the test.
- Place the magnet using its intended backing, mark the spot with painter’s tape nearby so you remember exactly where it sat, and leave it alone for 24 to 48 hours.
- Remove it by lifting straight up, never sliding, then inspect the area under strong light or a flashlight held at a low angle. Micro-scratches show up as faint hairline marks; residue looks like a dull haze.
- If the spot is clean, move to your real mounting location with a protective pad, film, or adhesive buffer in place rather than a bare magnet-to-paint contact.
Pro Tip: Re-check the test spot after your first few rounds, not just once. Grit accumulates gradually, and a magnet that passed a two-day test can still cause problems after two weeks of dusty cart paths.
Protective Mounting Options That Actually Prevent Scratches
The fix here isn’t complicated. Most scratch prevention comes down to putting something soft between the magnet and the paint, and never letting the magnet drag.
- Padded-backed magnetic towels and holders use felt, rubber, or fabric layers so the magnet’s steel or neodymium core never contacts the paint directly. This is the simplest fix available and requires no extra purchase if your accessory already has it built in.
- Adhesive rubber or plastic discs create a permanent buffer zone for accessories you plan to leave mounted all season. Automotive-grade double-sided tape works the same way for flatter attachments.
- A temporary microfiber cloth barrier works in a pinch when you’re testing a new accessory or borrowing someone else’s magnetic gear for a round.
- Paint protection film (PPF) on high-contact zones, like where a rangefinder mount or accessory sits most often, adds a sacrificial layer that takes the wear instead of your clear coat. Professional application matters here because bubbles or misaligned edges under PPF can trap the same grit you’re trying to avoid.
Avoid raw, uncoated magnets glued directly to fabric with no cushioning, and never drag a magnet sideways to reposition it. Metal-to-metal contact on exposed brackets or trim is another quiet risk since it skips the paint layer but often leaves swirl marks on chrome or aluminum edges.
| Protection Method | Best For | Effort Level |
|---|---|---|
| Padded backing (built into product) | Daily-use towels and pads | None, buy once |
| Adhesive rubber/plastic disc | Permanent mounting spots | Low, one-time install |
| Microfiber cloth barrier | Testing or borrowed accessories | Very low, temporary |
| Paint protection film | High-contact zones, frequent swaps | Higher, professional install recommended |
A well-designed magnetic golf towel already solves most of this by building the buffer into the product instead of leaving it up to the owner to improvise.
How Aiming Fluid Golf Engineers Around This Risk
Aiming Fluid Golf’s towel and landing pad systems start from the same mechanism this article just walked through: bare magnets against paint are the problem, not magnets in general. The magnets in these systems sit embedded inside a soft backing layer rather than exposed on the surface, which removes the direct metal-to-paint contact that causes most abrasion complaints.
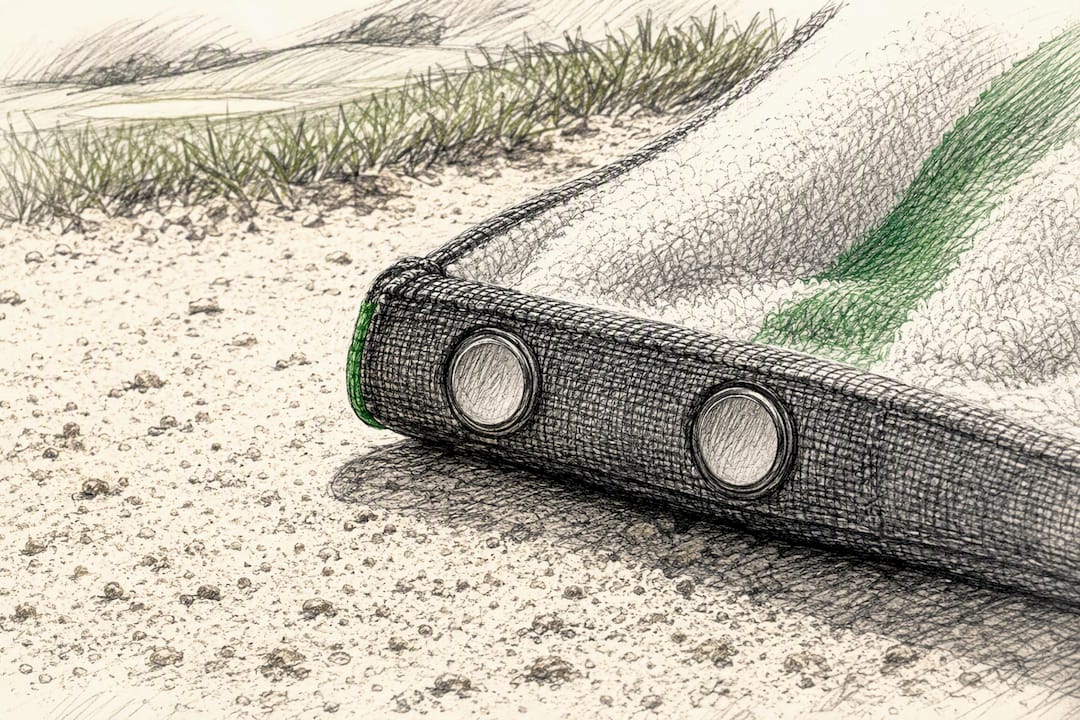
That design choice does two things at once. It keeps grit from getting wedged between a hard magnet edge and your clear coat, and it prevents the sliding motion that turns dust into sandpaper. The washable materials used in the towel component also matter more than golfers expect, since a towel that traps dirt against its own magnet backing recreates the exact problem padding is supposed to solve.
Pair the product with basic habits and you get the best outcome:
- Wipe down the mounting area every few rounds, not just when it looks dirty.
- Reseat the towel or pad by lifting rather than sliding it into place.
- Inspect the contact spot monthly if you leave an accessory mounted long term.
Aiming Fluid Golf’s testing approach to magnets and mounting reflects the same logic detailed throughout this guide: control the backing, control the contact, and the magnet strength stops being the risk factor people assume it is.
Fixing Scratches That Already Happened
If you’re past prevention and staring at a mark, the fix depends entirely on depth. Run your fingernail across the scratch: if it catches, the damage has likely gone past the clear coat, and if your nail glides over it smoothly, you’re probably dealing with a surface-level mark that’s fixable at home.
- Wash the area first with automotive soap to remove loose debris, then inspect the scratch again under direct light at an angle, since dirt often makes marks look deeper than they are.
- Clay-bar the spot to lift embedded grit that washing alone won’t remove, especially if the scratch came from trapped particles rather than a clean magnet slide.
- Apply a light polishing compound with a microfiber pad for hairline clear-coat marks, working in small sections and checking progress often. Aggressive rubbing or an orbital buffer on a small hand-applied spot can thin the clear coat further and make things worse.
- Use touch-up paint only for marks that reach the base color, and reserve professional detailing or body shop work for anything deep enough to catch a fingernail or expose bare metal underneath.
Your Quick-Reference Checklist for Safe Magnet Use
Keep this list handy the next time you’re mounting a new accessory or reconsidering an old one:
- Clean the mounting spot before every new magnet placement, not just the first time.
- Test on an inconspicuous area for 24 to 48 hours before committing to daily use.
- Add a pad, film, or adhesive buffer whenever the magnet isn’t already backed by soft material.
- Lift magnets straight up instead of dragging them across the surface.
- Inspect mounting spots every few weeks, especially after dusty or windy rounds.
- Favor embedded or coated magnets over bare metal glued directly to fabric.
The bottom line: magnets carry low to moderate scratch risk, and nearly all of it is preventable with a clean surface, a soft backing, and a habit of lifting rather than sliding.
Convenience Shouldn’t Cost You Your Cart’s Finish
Golfers want their towel or rangefinder exactly where they left it, and magnets deliver that convenience better than any clip or strap ever has. The mistake is treating that convenience as risk-free by default instead of as something you earn with a clean surface and the right backing.
I’ve watched golfers get anxious about a $15 accessory magnet while ignoring the trapped grit under their floor mats for months, which tells you the fear is often aimed at the wrong culprit. Aiming Fluid Golf’s approach reflects a simple design philosophy: build the padding into the product so the golfer doesn’t have to think about it every round.
— Gary
The Aiming Fluid Golf Magnetic System
If you’d rather not improvise your own padding and tape solution, Aiming Fluid Golf’s magnetic towel and landing pad system already builds in the protective barrier this guide recommends: embedded magnets, soft non-abrasive backing, and washable materials that keep grit from accumulating against your cart’s finish. Instead of gluing a bare magnet to fabric and hoping for the best, you get a system designed around the exact abrasion risks covered here.
The magnetic towels collection shows the full lineup, including the wash pocket system built to keep the magnet housing clean between rounds. If you’re outfitting your whole bag rather than just the towel, the best golf accessories guide rounds out options that pair well with a magnetic setup, from divot tools to utility pouches. Check the collection, compare it against what’s currently sliding around loose in your cart, and swap it out before your next round.
Sources
For deeper reading beyond this guide, a few sources stand out. MagnetCy’s explainer on magnet-surface damage covers the physics of abrasion in plain terms. CanYouGolf’s magnetic towel roundup breaks down backing and coating differences across real products. Golfcartlab’s speed sensor diagnostic guide is the reference if you’re troubleshooting a power issue unrelated to accessory magnets. Forum threads on Cartaholics and reviews from MyGolfSpy round out the real-world experience side of the picture.
- Golfcartlab
- Can Magnets Damage Surfaces? Exploring Risks And Prevention Tips | MagnetCy
- 13 Best Magnetic Golf Towels for Carts That Make Cleaning Your Clubs a Breeze - CanYouGolf
- lost half my power - went from 15 mph to 7 mph | Cartaholics Golf Cart Forum
- 4 Golf Cart Accessories I Wasted Money On
Recommended
- Magnetic Golf Towel Science: How It Works, Magnet Grades, Shear vs Pull – Aiming Fluid Golf
- Best Magnetic Golf Towels – Aiming Fluid Golf
- Best Magnetic Golf Accessories | Magna-Anchor™ System Guide – Aiming Fluid Golf
- Golf Equipment Science | Testing, Magnets, Cleaning & Performance | Ai – Aiming Fluid Golf


