


Divot tools are permitted in both carry-on and checked bags per the TSA’s official guidance, and carrying one in your pocket during a round is straightforward once you know the basic safety rules. The short version: keep it folded or sheathed, store it under 7 inches in length, and use a pouch or magnetic holder rather than dropping it loose into an outer pocket.
A few immediate rules to follow:
- In the air: Keep the tool folded or covered, place it inside a small zip pouch inside your carry-on, and never leave it loose in an outer bag pocket where it can snag during screening.
- On the course: Use a foldable or locking tool; fixed exposed forks in a shallow pocket are a poke risk during a full swing or a cart ride.
- Size matters: Tools at or above 7 inches may draw extra attention at a checkpoint. Compact, foldable designs stay well under that threshold.
- Officer discretion is real: Even a TSA-permitted item can be held at the checkpoint. A pouch and a folded tool reduce that risk significantly.
The sections below cover the TSA rule in detail, pocket-carry tactics, on-course organization, and a publisher-recommended travel kit.
Key Takeaways
Carrying a divot tool safely requires the right tool design, a consistent storage method, and awareness of the TSA’s officer-discretion rule before you reach the checkpoint.
| Point | Details |
|---|---|
| TSA permits divot tools | Both carry-on and checked bags are allowed, but the final decision belongs to the officer at the checkpoint. |
| Stay under 7 inches | Tools at or above 7 inches may be flagged during screening; most foldable tools fold to 3–4 inches. |
| Use a locking foldable tool | A fold-to-close mechanism secures prongs in the pocket and presents a clean profile on X-ray. |
| Pouch and magnetic pad together | A zip pouch keeps the tool contained during travel; a magnetic landing pad gives it a defined home on the course. |
| Aimingfluidgolf recommended kit | The 5-in-1 Multi-Tool, Leather Utility Pouch, and magnetic landing pad address every carry and travel scenario above. |
Table of Contents
- What does TSA actually say about carrying a divot tool on a plane?
- How to carry a divot tool safely on your person during a round
- What organization options actually work on the course and in your bag?
- Which divot tool setup does Aimingfluidgolf recommend for safe travel and daily carry?
- When and how should you use a divot tool on the green?
- Pre-flight and pre-tee checklist for traveling with a divot tool
- Why the system matters more than the individual tool
- The Aimingfluidgolf travel-safe kit covers every scenario above
- Sources
What does TSA actually say about carrying a divot tool on a plane?
The TSA’s item-specific page is unambiguous on permissibility:
That last sentence is the one most golfers overlook. TSA officers use X-ray imaging and physical inspection to assess whether an item poses a threat, and a long, pointed metal object with exposed prongs can look ambiguous on a screen. The officer’s judgment at that moment is final, regardless of what the item list says.
Practically, “officer discretion” means two things. First, a tool that is folded flat and stored inside a pouch presents a clean, non-threatening profile on the X-ray. Second, a fixed-fork tool sitting loose among cables and keys in an outer pocket creates visual clutter that invites a secondary inspection. Travel write-ups confirm that tools around 7 inches or longer are the ones most likely to be flagged, not because they are prohibited, but because their length triggers a closer look.
The practical size guideline to record: keep your divot tool under 7 inches in its travel configuration. Most standard foldable tools measure roughly 3–4 inches when folded, which clears that threshold with room to spare.
Pro Tip: Photograph your divot tool before packing it, especially if it’s a premium multi-tool. If a checkpoint officer removes it for inspection and it doesn’t make it back into your bag, you have documentation for a claim.
How to carry a divot tool safely on your person during a round
Pocket placement is where most golfers make avoidable mistakes. A fixed-fork tool dropped point-first into a shallow shorts pocket is one stumble away from a puncture wound or a torn lining. The physics are simple: walking 18 holes means thousands of steps, and each one shifts the tool slightly.

Best pocket locations
Front pants or shorts pockets with depth of at least 4 inches are the safest option for a foldable tool. The tool sits vertically, the folded prongs face down, and the handle stays accessible at the pocket’s rim. Watch pockets (the small coin pocket on jeans or some golf shorts) work only for very compact tools under 3 inches. Vest pockets with a zip closure are excellent for riders, since cart vibration can work a tool out of an open pocket over 18 holes.
Avoid back pockets entirely. Sitting on a metal tool, even a folded one, puts lateral stress on the hinge mechanism and can cause premature wear or failure.
Foldable vs. fixed forks
Foldable tools with a locking mechanism fold flat for pocket-safe carry and are designed to prevent poking or snagging during a full round. The prongs lock inside the handle until you deploy them with one hand. Fixed forks are often sturdier at the repair point, but the exposed tines create a real pocket risk and a packing hazard. For travel and daily carry, the foldable design wins on safety.
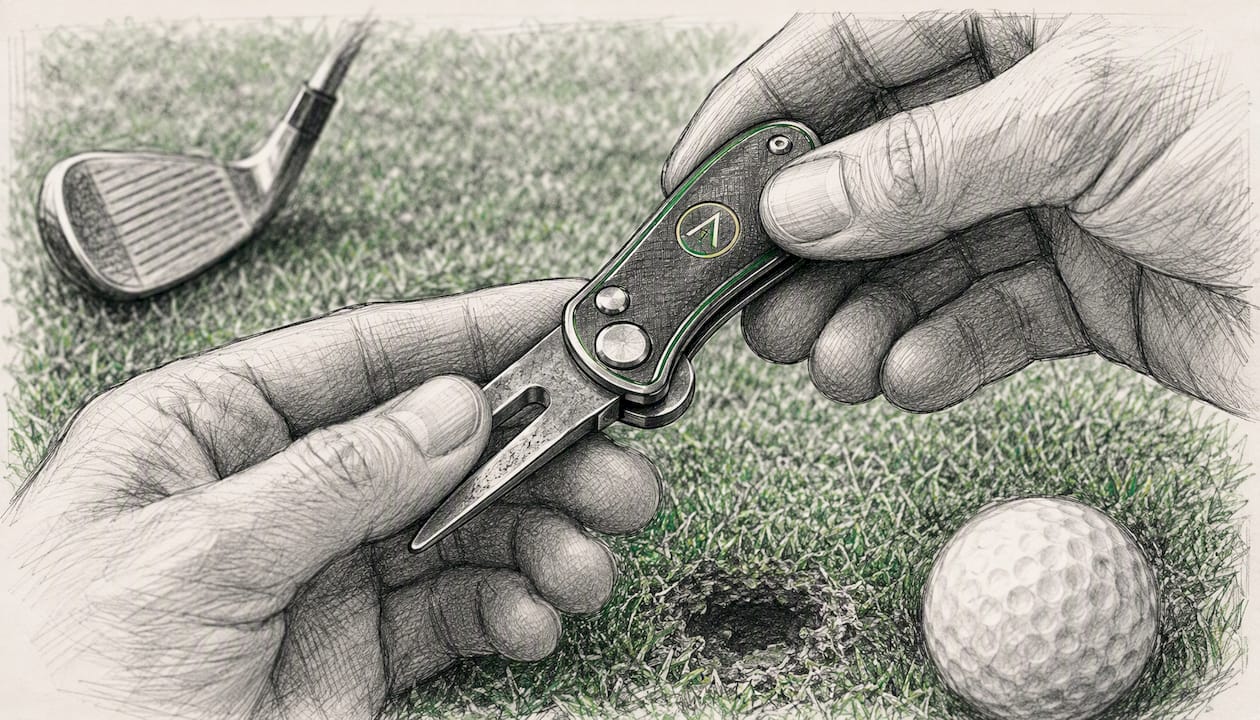
Pro Tip: Riders should clip or zip their divot tool rather than pocket it. Cart vibration over 18 holes will eventually work a loose tool to the bottom of a pocket or out entirely. A pouch with a clip solves this in one step.
What organization options actually work on the course and in your bag?
The goal is quick access without fumbling, and there are several ways to get there depending on your setup.
- Dedicated leather utility pouch: A zip-closure pouch with a clip, like the Aimingfluidgolf Leather Utility Pouch, attaches directly to your bag or belt loop. The 360-degree metal clip keeps it stable, the zip closure prevents anything from falling out, and the soft interior lining protects both the tool and any ball markers stored alongside it. Best for golfers who want one dedicated spot for all small accessories.
- Magnetic towel and landing pad system: A magnetic landing pad mounted on your bag keeps your towel and small metal accessories visible and instantly retrievable. Ball markers and metal divot tools snap to the magnetic surface, eliminating the pocket dig before every putt. This system reduces fumble time on the green and keeps pace of play moving.
- Built-in bag pouch: Most stand bags include a small accessory pocket near the top. This works, but the lack of a dedicated closure means tools can shift and tangle with tees or ball markers. A small zip bag inside that pocket solves the organization problem without adding weight.
- Travel packing: Golf travel guides recommend placing small accessories like tees, balls, and divot tools in a dedicated pouch inside your carry-on rather than loose in an outer pocket. For checked clubs, a padded travel bag with internal compartments keeps accessories from shifting and prevents the tool from puncturing soft goods.
Which divot tool setup does Aimingfluidgolf recommend for safe travel and daily carry?
The safest and most practical configuration pairs a locking multi-tool with a compact pouch and a magnetic landing pad. Each component addresses a specific failure mode.
Why a locking 5-in-1 multi-tool reduces pocket risk
A fixed-fork tool with exposed prongs is a liability in a pocket and a visual flag at a checkpoint. The Aimingfluidgolf 5-in-1 Multi-Tool uses a locking fold mechanism that secures the prongs inside the handle when not in use. The result is a compact, smooth profile that fits cleanly in a front pocket, passes through X-ray screening without the visual clutter of exposed tines, and deploys with one hand when you reach the green. Equipment roundups confirm that foldable tools are consistently safer for packing and pocket carry than fixed-fork alternatives.
Recommended kit components and dimensions
The multi-tool’s folded length of approximately 3.5 inches clears the practical 7-inch screening threshold by a wide margin. The leather pouch fits inside a carry-on’s interior pocket without bulk, and the magnetic landing pad travels flat against the bag’s exterior or inside a padded compartment.
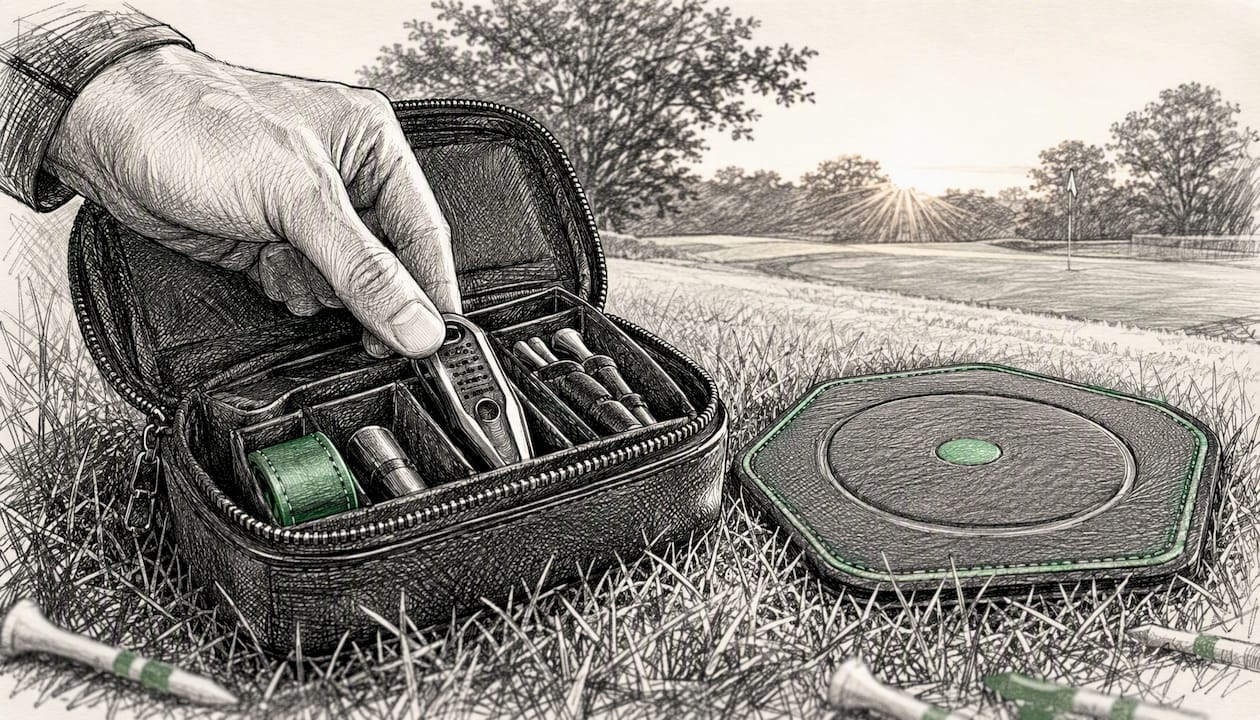
Pro Tip: When flying, place the pouch containing your divot tool in the top layer of your carry-on, not buried at the bottom. If a TSA officer asks to inspect it, you can retrieve it in seconds rather than unpacking half your bag.
When and how should you use a divot tool on the green?
Repair every ball mark you cause. That is the baseline rule of green etiquette, and it is not optional. A ball mark left unrepaired can take weeks to heal and creates an uneven putting surface for every golfer who follows you.
The correct technique matters as much as the act of repairing:
- Locate the center of the depression. Ball marks are often offset from where the ball landed; look for the lowest point of the indentation.
- Insert the prongs at the edge, not the center. Place the tines at the perimeter of the mark, angled slightly inward.
- Push toward the center from multiple sides. Work around the mark, pushing the surrounding turf inward. Do not pry upward — lifting the turf tears the roots and slows recovery.
- Smooth the surface. Use the flat back of the tool or the sole of your putter to gently press the repaired area flat.
- Repair quickly. The entire process takes under 15 seconds. Do it while other players are reading their putts to maintain pace.
One additional note: you can repair ball marks made by other golfers, not just your own. The Rules of Golf permit this, and doing so is considered good etiquette.
Pre-flight and pre-tee checklist for traveling with a divot tool
Before you fly
- Fold and lock the divot tool; confirm the locking mechanism is engaged.
- Place the tool inside a zip pouch, not loose in any pocket of your carry-on.
- Keep the pouch in the interior of the carry-on, accessible for inspection.
- Avoid placing any sharp accessories in outer bag pockets where they can snag during security.
- Measure the tool if you are unsure of its length; anything approaching 7 inches warrants a second look.
- Photograph the tool before packing, especially if it is a premium piece.
- For checked clubs, place the pouch inside a padded internal compartment of the travel bag.
Before your first tee after travel
- Retrieve the pouch from your carry-on and transfer it to your golf bag.
- Verify the tool is secured in the pouch or mounted on the magnetic landing pad.
- Confirm the ball marker is accessible, either clipped to the tool or stored in the pouch’s interior pocket.
- Check that the pouch clip is attached to a stable point on the bag, not a loose loop.
Reviewing common golf gear packing mistakes before any trip is a useful habit, particularly for golfers who travel infrequently and may not remember the details between trips.
Why the system matters more than the individual tool
Most golfers treat divot tool carry as an afterthought, and that is exactly why they end up with a poked finger, a lost tool, or a secondary screening delay at the airport. The tool itself is rarely the problem. The failure mode is almost always the absence of a system.
A foldable tool in a loose pocket is marginally safer than a fixed fork, but it still migrates, still gets lost, and still creates the same X-ray ambiguity if it’s buried among keys and cables. The difference between a frustrating travel experience and a smooth one is usually a single zip pouch and the habit of using it consistently.
The same logic applies on the course. A magnetic landing pad does not just keep your towel accessible; it gives every small metal accessory a defined home. When your divot tool has a place, you stop patting pockets before every putt. That saves time, reduces distraction, and keeps your focus where it belongs.
Aimingfluidgolf’s design philosophy is built around this principle: organization is a performance variable, not a luxury. The walking golfer organization guide on the Aimingfluidgolf site covers retrieval time and pocket placement in more depth for golfers who carry their own bag.
The Aimingfluidgolf travel-safe kit covers every scenario above
The Aimingfluidgolf 5-in-1 Multi-Tool paired with the Leather Utility Pouch and a magnetic landing pad gives you a complete answer to every carry problem this article covers: TSA-safe dimensions, pocket-safe locking mechanism, and a defined home for the tool on the course and in your bag.
The kit components and what each one solves:
- 5-in-1 Multi-Tool: Folds to approximately 3.5 inches with a locking mechanism that secures the prongs. TSA-safe, pocket-safe, one-handed deployment on the green.
- Leather Utility Pouch: Zip closure, soft interior lining, and a 360-degree metal clip. Attaches to your bag or belt loop and keeps the tool and ball markers together in one place.
- Magnetic Landing Pad: Mounts to the bag, keeps metal accessories visible and accessible, and eliminates the pocket search before every putt.
Browse the full expert-picked accessory lineup to see how these components fit into a complete on-course organization setup, or go directly to the divot tool buyer guide to check current sizing specs and availability.
Sources
- Divot Tools | Transportation Security Administration - TSA
- Can you bring a divot tool on an airplane? (StandbyWithMe)
- How To Travel With Golf Clubs: Everything You Need To Know – Sunday Golf
- Best Golf Divot Tool With Ball Marker for Greens, on-the-Go Repair – My Golf Tutor
Recommended
- Best Switch-Blade Divot Tools Available On Amazon: Safety, Magnetic Ma – Aiming Fluid Golf
- How to Use a Golf Divot Tool Like a Pro | Step-by-Step Guide – Aiming Fluid Golf
- Callaway Switch-Blade Divot Tool: 4-in-1 Magnetic Marker & Cleaner – Aiming Fluid Golf
- The Best Tool in a Golfer’s Bag - The Divot Tool – Aiming Fluid Golf


